
If there’s one thing I can make with my eyes closed, it’s Russian crepes, a.k.a. blini. And I can make them as long as there are just two ingredients in my kitchen: flour and eggs. Well, that and water running from my tap.
If there’s milk in the fridge — or any kind of dairy like kefir, whey or yogurt — even better. Blini will come out softer and more flavorful. A little piece of butter hiding in the back of the fridge? Melt it and add to the batter: it will add richness and depth, plus blini won’t stick to the frying pan. A pinch of salt. Sugar is optional.
Blini can happen on any day of the week in my house. The decision is usually based solely on the presence of bread in the kitchen. If I forgot to buy a loaf the day before and/or am too lazy to walk two blocks to the closest bakery in my neighborhood, then I make blini. Sometimes, oladushki. But more often — blini.
Frying or Baking?
I fry them on two pans at once to speed up the process. Come to think of it, in Russian, I’d say “I bake blini” — я пеку блины — although I am actually frying them on a pan.
The choice of the verb is a relic of the past, when blini were indeed baked in a traditional Russian stove. The name of the stove and the verb “to bake” are actually one and the same — pech (печь).
The Many Faces of Russian Crepes
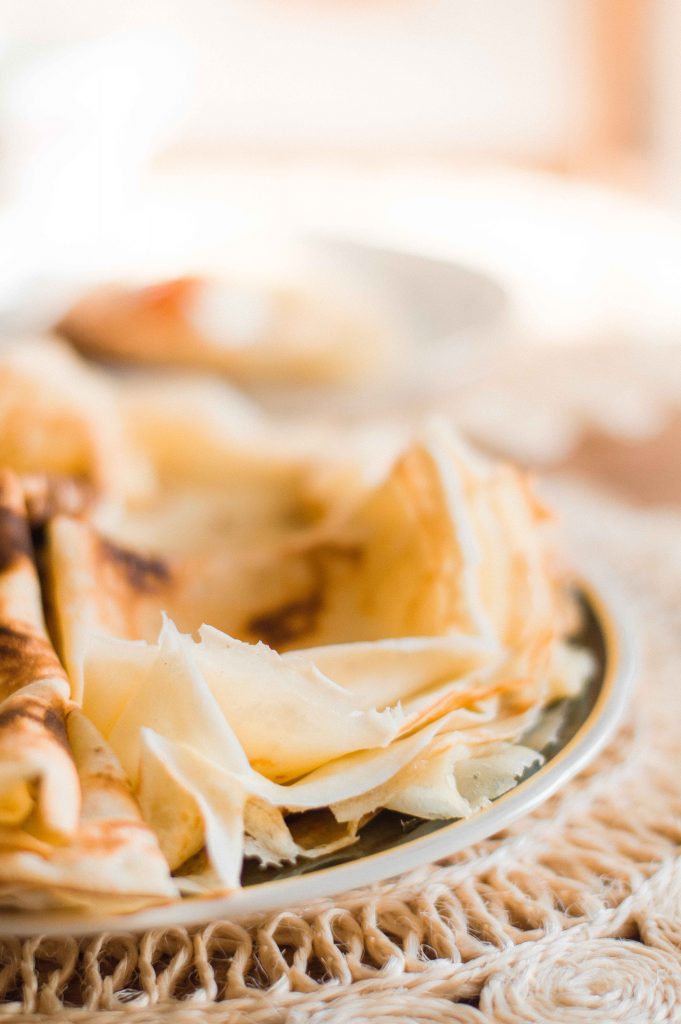
Do I need to mention that there are as many recipes for Russian crepes as there are babushkas (grandmas) in Russia? Some are fat and others are paper-thin. Some are made with yeast, others with baking powder or soda.
Yet some people, me included, use none of the above. The flour may be all-purpose, rye or buckwheat — does it get any more Russian than buckwheat blini? Milk, yogurt, kefir, whey or water are all possible wet ingredients.
A Few Words on the Use of Whey
If you came here from my post about making tvorog at home, this is for you!
Whey is the by-product of making tvorog (cottage cheese). And since I make it every couple of weeks, there’s always a bottle or two of whey in my fridge. Most often, when it comes to wet ingredients for Russian crepes, I choose a mix of fatty milk and water. You could use only milk, but the 50/50 ratio helps to make blini thinner, while still providing the creaminess and softness.
On the days after making cottage cheese, I use whey. Blini are a little more fragile and might tear when you flip them. So if it’s your first time using whey, you might want to do a 50/50 mix with milk. With whey, blini turn out with a slight sour note. Oh, and that cottage cheese? You can fill your blini with it.
Maslenitsa
The wide range of blini varieties is especially obvious when it comes to Maslenitsa, a celebration of the start of spring. In the end of February – beginning of March — the dates vary each year — there’s a week dedicated to making blini. One must bake them every day of the week with a grand finale on Sunday, when people take it to the streets.
Festive celebrations happen in every Russian city, big and small, usually on the main squares. Vendors bake blini right outside and serve them with sour cream, honey, vareniye (jam) and hot tea. It is one of my most joyful memories to have hot blini right off the pan outside: fingers freezing in the cold because although Maslentisa is a celebration of coming spring, the weather in February is not always cooperative.
Which Pan to Use for Russian Crepes?
When making blini at home, I use a cast iron pan and a non-stick pan interchangeably. The cast-iron feels like the right, more traditional way to go, but is a bit tricky. Make sure it is well-seasoned, pour the batter in only when the pan is smoking hot, and brush the cast-iron with butter after every blin.
It is a little complicated to control how a cast-iron pan heats up. I initially heat it on medium high heat, but after a few blini, when the pan gets evenly hot, I reduce it to medium. Even then, I still have to pull the pan off the stove every now and then to let it cool slightly, usually once I flip a blin onto the other side (the good news is – it will keep cooking nicely as cast iron holds heat well).
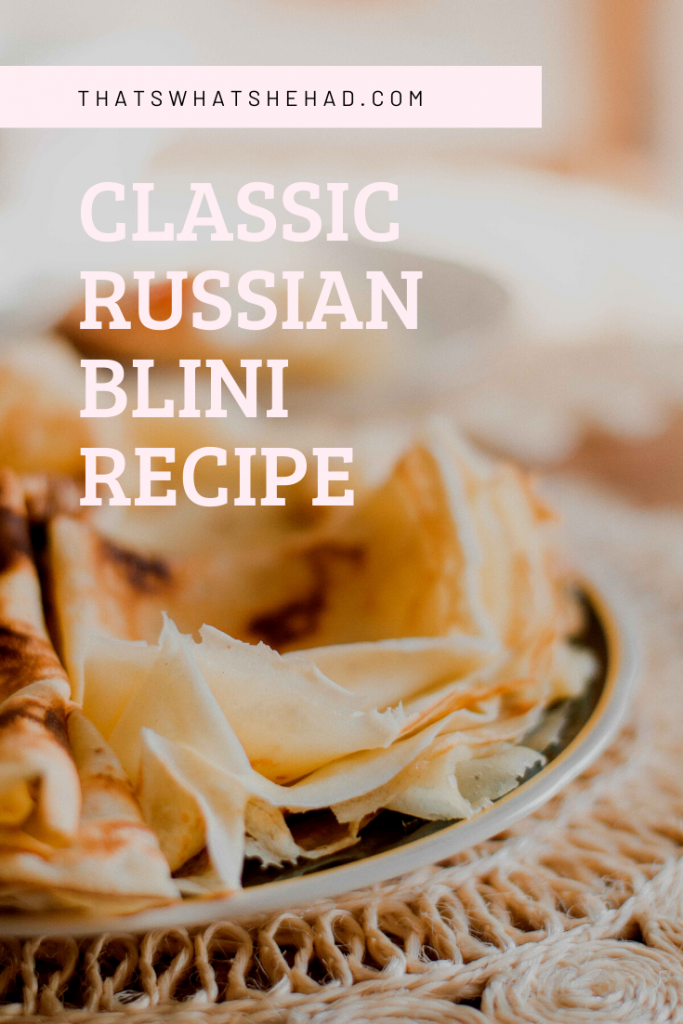
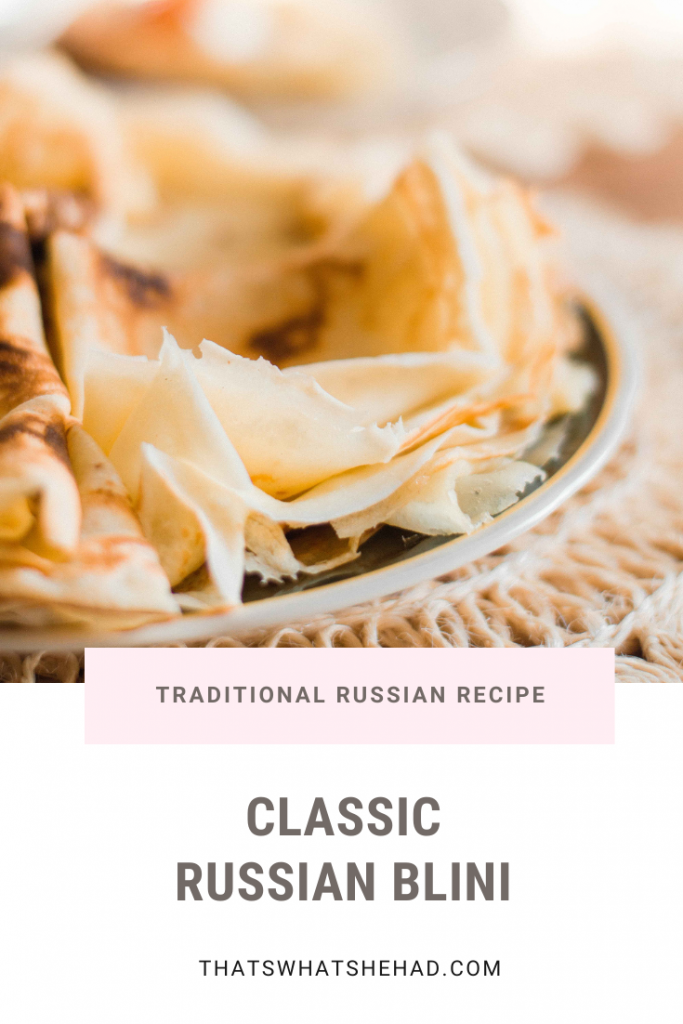
The other downside is that a cast-iron pan is really heavy to roll the batter out thinly. While French crepes are spread on the grill with the help of a wooden spreader, the batter for Russian blini is spread by rotating the pan in your hand. My wrist is never happy about me making a good batch of blini.
A non-stick pan, on the other hand, is light and easy. If you are craving paper-thin blini, with lacy edges, this should be your choice. Pour way less batter than you think necessary and rotate the pan in your hand until the bottom is covered. For lacy edges, make sure the batter goes up the sides of the pan, as high as possible.
No Such Thing as Too Much Butter
I like to add some oil or, better yet, melted butter to the batter to make absolutely sure it’s not going to stick.
I then grease the pan anyways after every couple of blini because there’s no such thing as too much butter. As Julia Child famously said “With enough butter, anything is good”. And who am I to argue with Julia Child?
If you want to keep it old-school, you must obtain a slab of salo (cured pork fat). Put a little piece of salo on a fork and grease the pan with it. It’s more economical than using butter and easier to grease too.
How to Serve Blini?
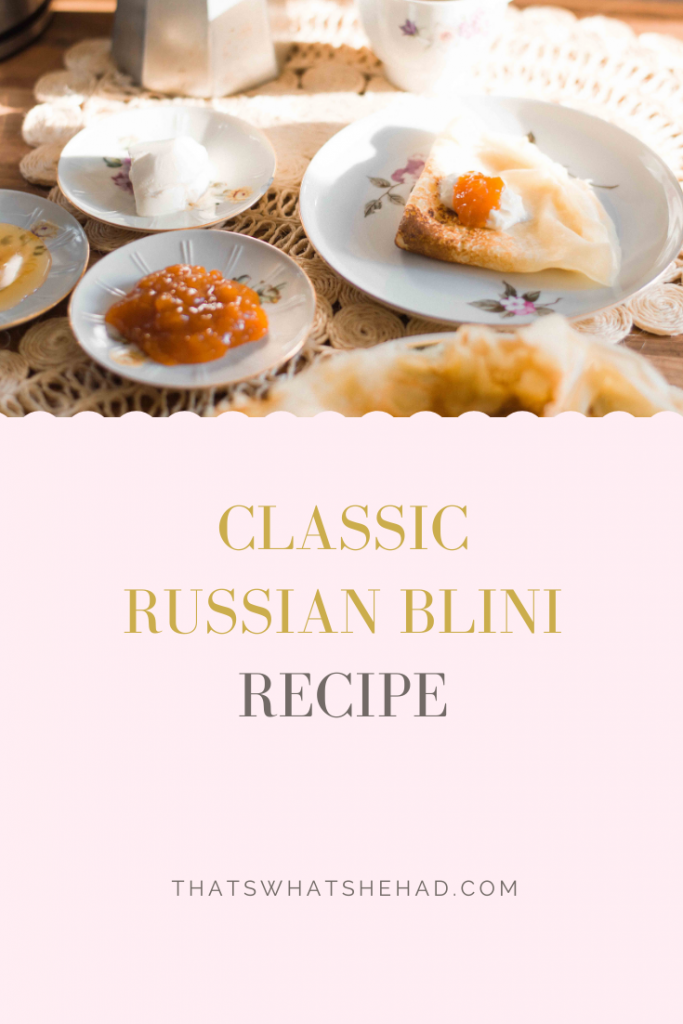
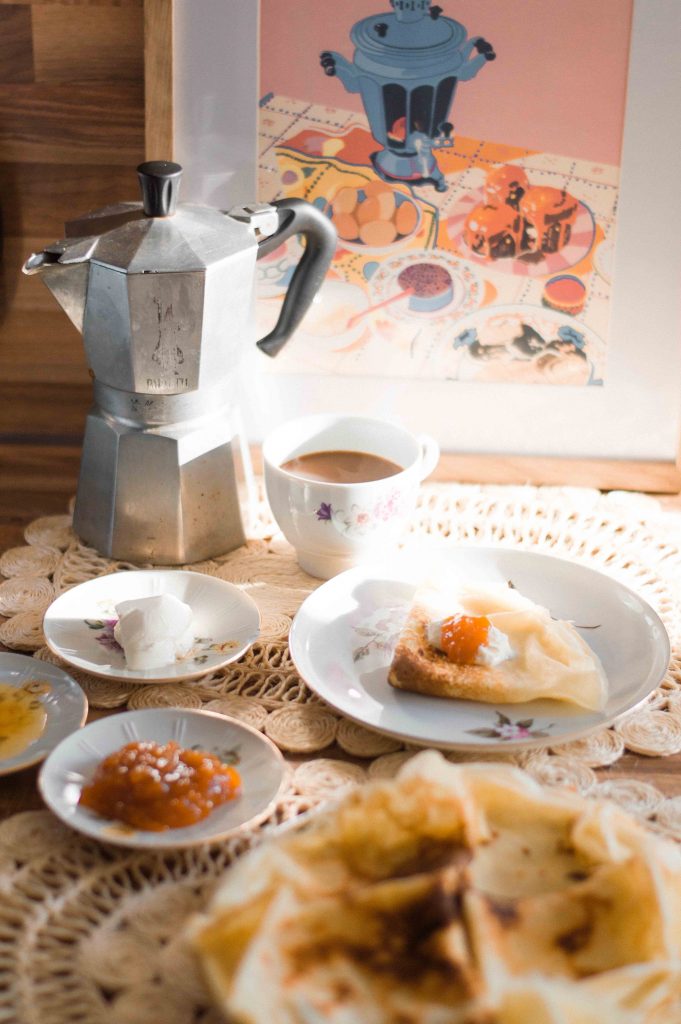
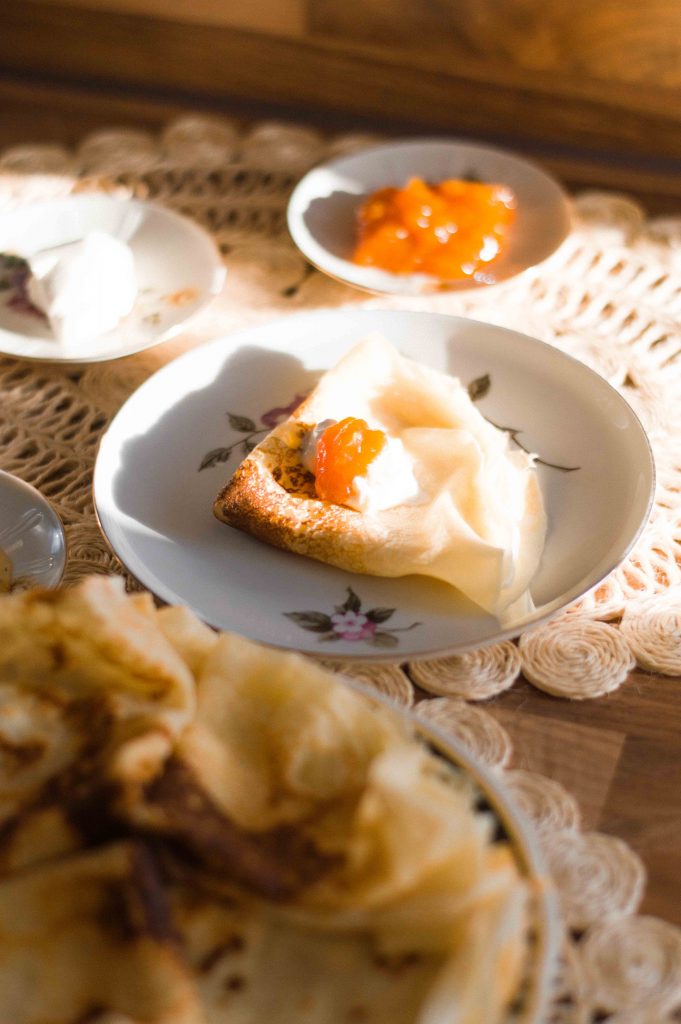
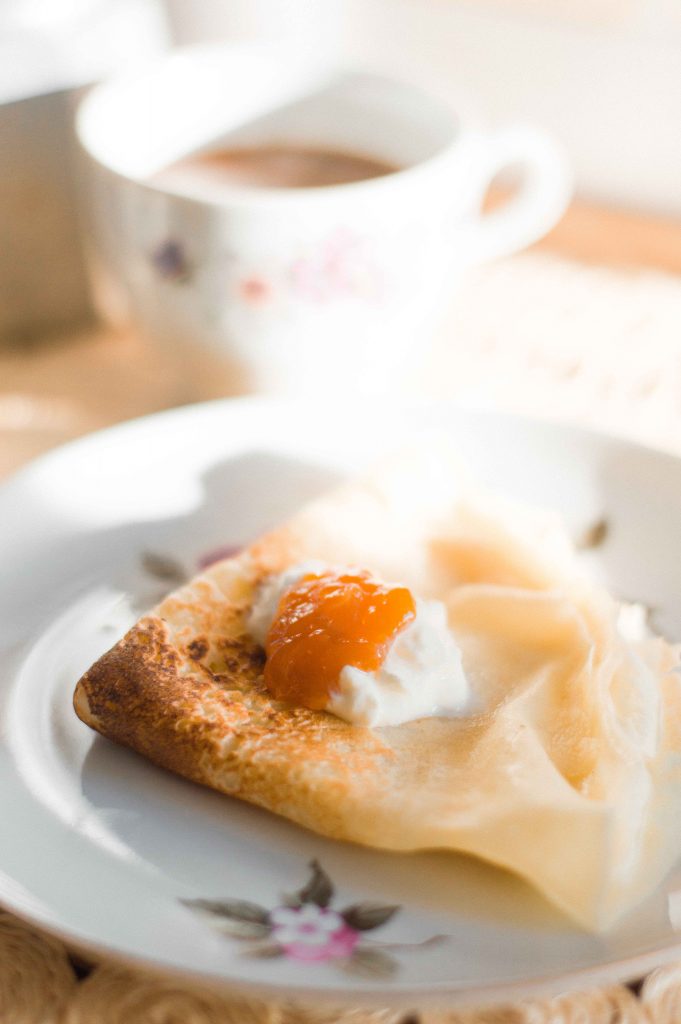
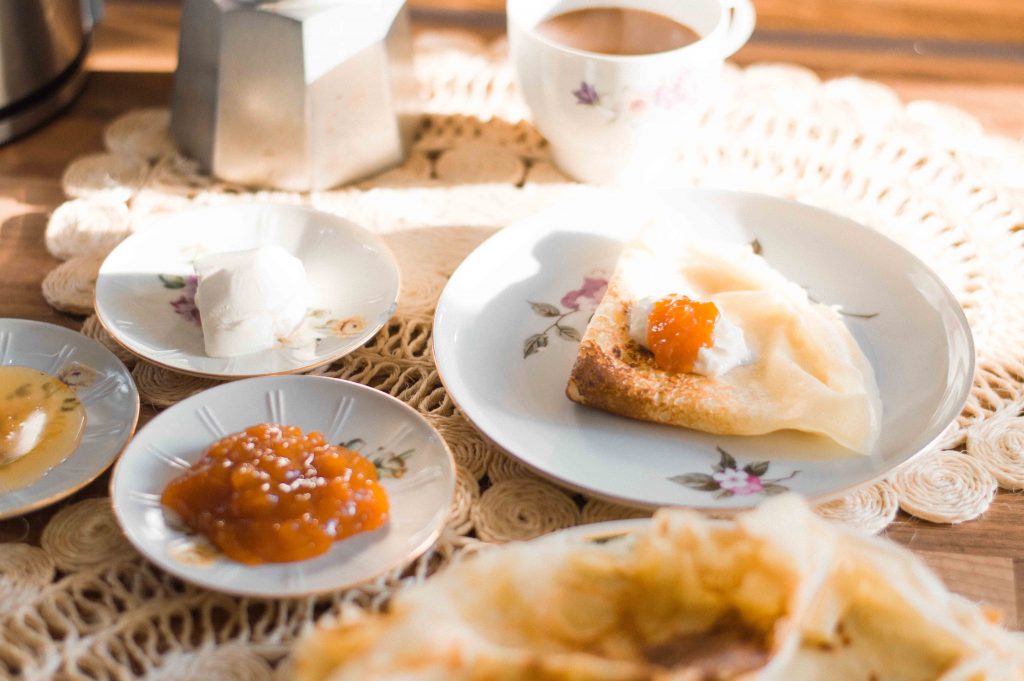
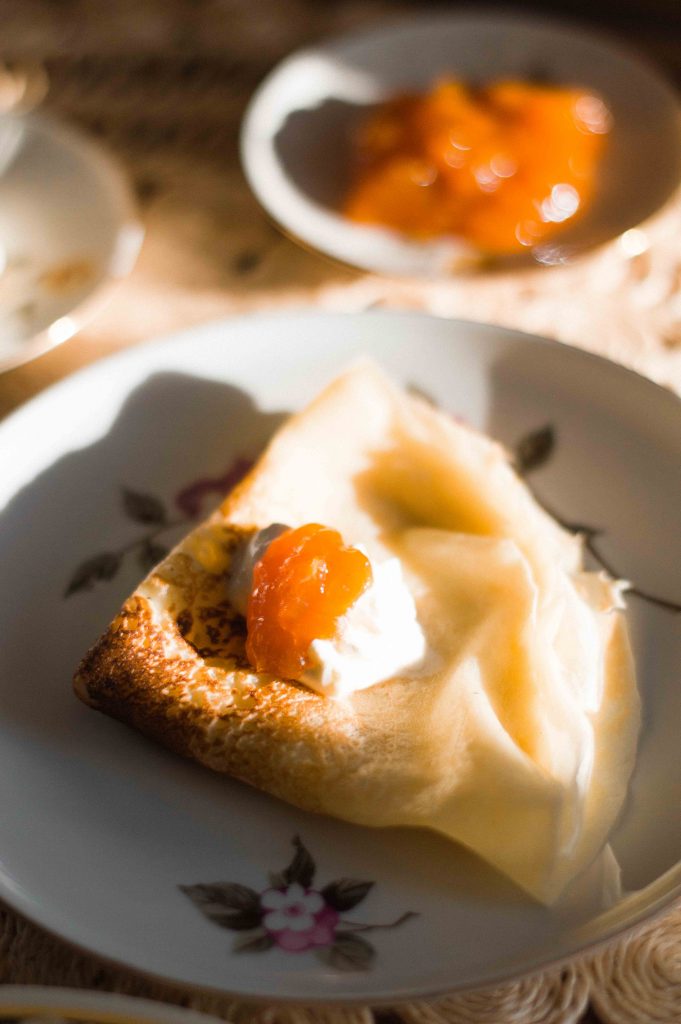
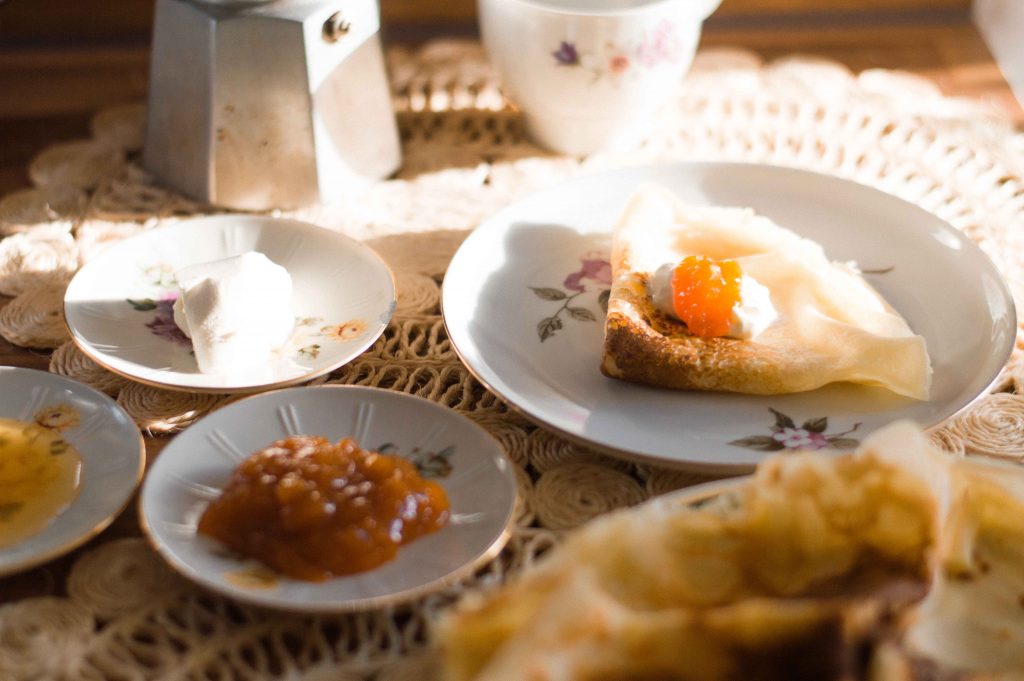
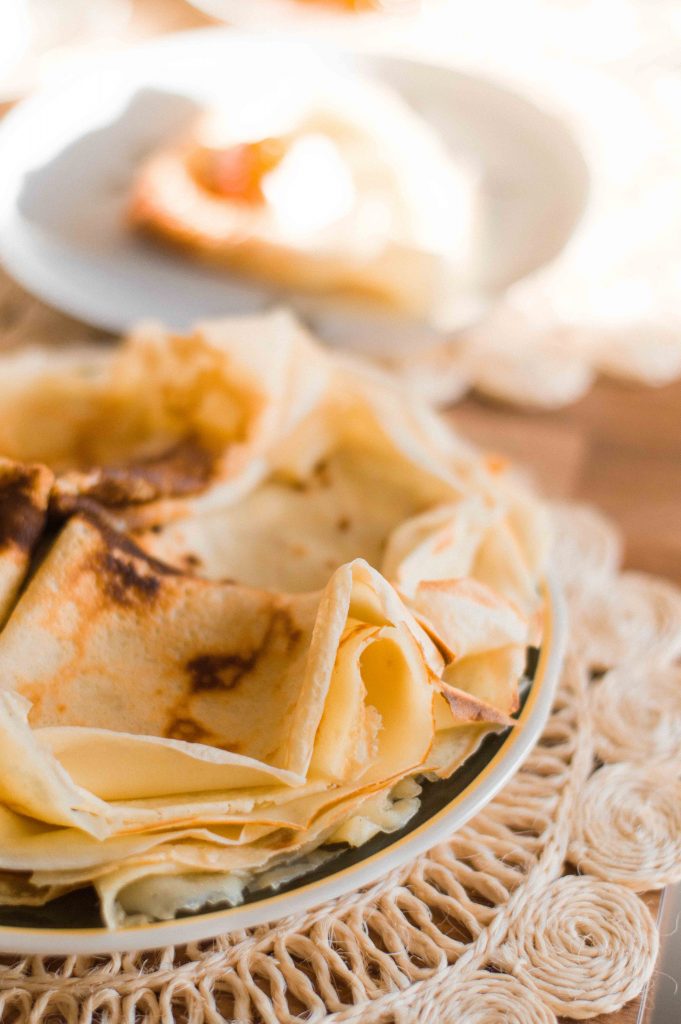
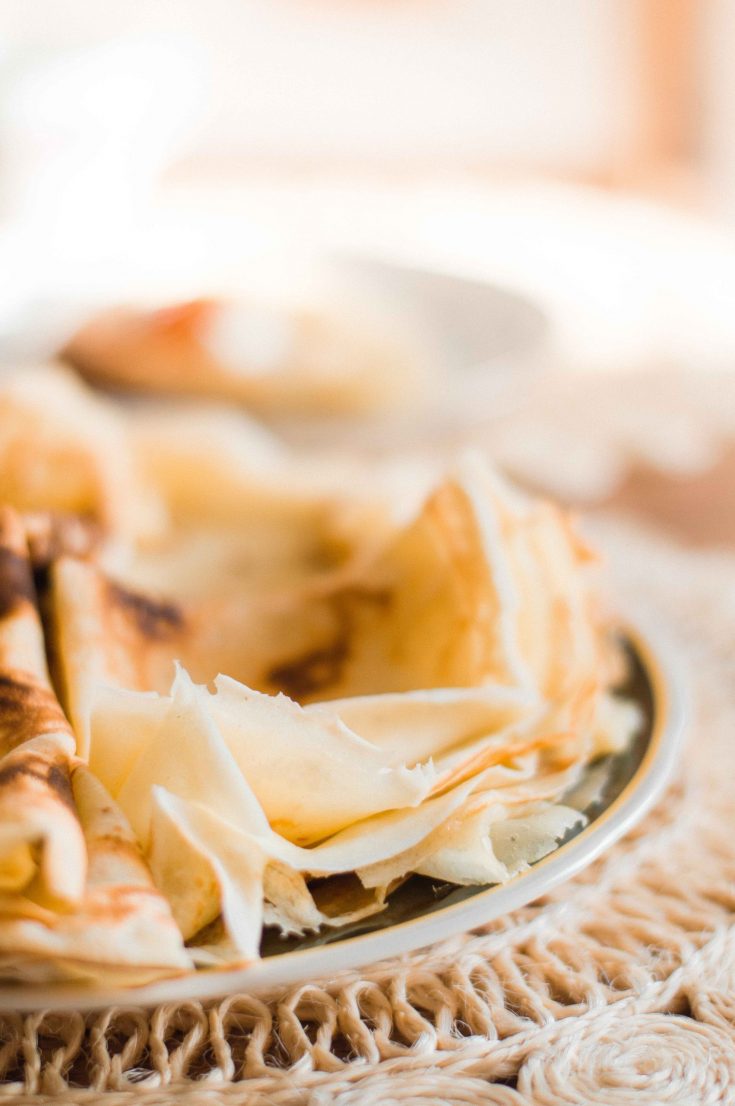
Blini are served in a tall stack in the middle of the table, so one can help himself to as many as he wants. You can place a good chunk of butter on the top of the stack for presentation (yes, more butter). But also, pour some melted butter in a saucer to serve alongside blini.
There should be another saucer with sour cream. I once read a quote that went something like this: to make something taste French — add garlic, to make it taste Chinese — add soy sauce, to make it taste Russian — add sour cream. Sour cream is especially good with honey or vareniye (jam). It’s the combination of creamy and sweet that makes it impossibly good.
But how about caviar, you ask? Well, I am sorry to disappoint you, but caviar is way too expensive for most Russians to leisurely scoop with a tablespoon on a blin or right into one’s mouth. I usually see blini with caviar on the menus of fancy Russian restaurants, but I can count the times I witnessed it at someone’s home on the fingers of one hand. And then, it’s usually the more affordable, salmon roe. Oh, well! I hope one day I will live my dream of eating blini with sturgeon roe and washing it down with champagne.
Yet another way to eat blini is by wrapping a filling inside. The fillings can vary from meat to smoked salmon to berries to cottage cheese. Once blini are rolled or folded with the filling inside, you call them blinchiki, but this is a topic for a whole other post.
Russian Blini
Russian version of crepes made with flour, milk and eggs.
Ingredients
- 25 grams (2 tablespoons) butter
- 250 grams (2 cups) wheat flour, sifted
- 1/4 teaspoon of salt
- 3 tablespoons sugar
- 250 ml (1 cup) milk (3.8% fat)
- 250 ml (1 cup) water
- 2 eggs
- butter for frying
Instructions
1. Melt butter in a saucepan over medium heat and set aside.
2. Mix flour, sugar and salt in a bowl. Add milk and water to the the dry ingredients and whisk everything together, making sure all the flour is dissolved. Whisk in eggs, one at a time. Strain the batter through a mesh sieve to remove any bits of undissolved flour. Add melted butter to the batter. If you insert a spoon the batter should coat its surface, but run down easily.
3. Place a 24 cm (9.5 inch) pan over medium-high heat. Once hot, grease it with butter. Lift the pan with one hand and pour the batter into it with another. The trick is to use less batter than you think you need in order to get the thinnest blini. About 1/3 of a ladle should be enough. When the batter touches the hot surface of the pan start rotating your hand to spread the batter. Place the pan back on the stove and wait for about 1-1.5 minutes till the batter becomes golden brown on the bottom. Flip the blin with a spatula and fry for another 20-30 seconds or until the other side is also golden brown. Repeat with the rest of the batter. Place blini in a stack, on top of each other, so they stay warm.
4. Serve immediately with melted butter, sour cream, jam or honey
Notes
*If you are frying blini on a cast iron pan, the first one or two blini might take a little bit longer, but afterwards, once you get going and the pan is hot-hot-hot, they will fry faster.