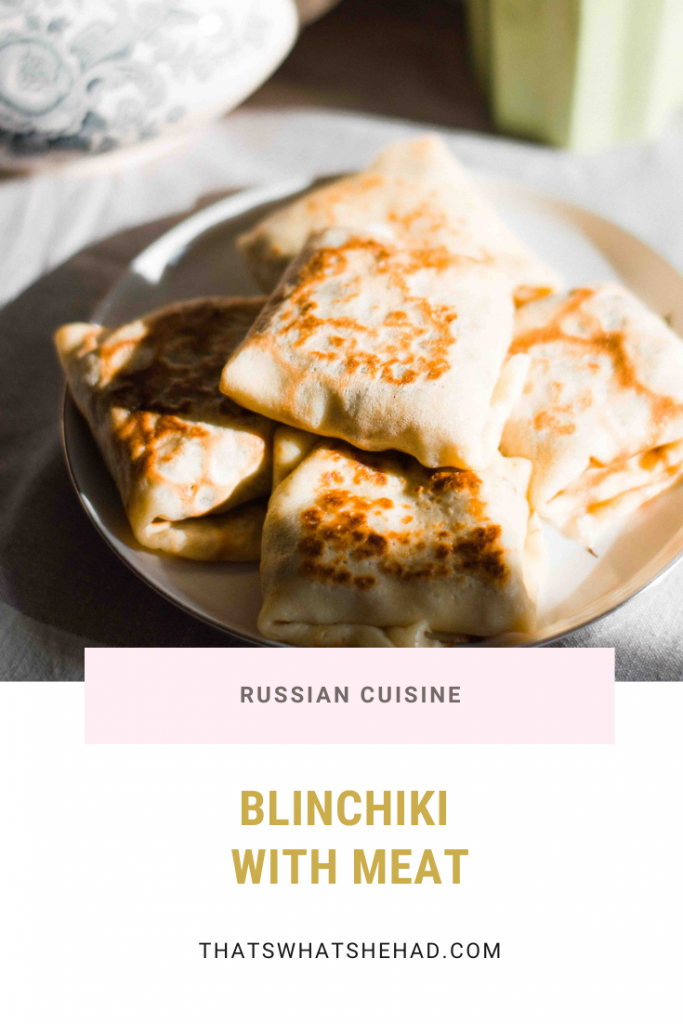
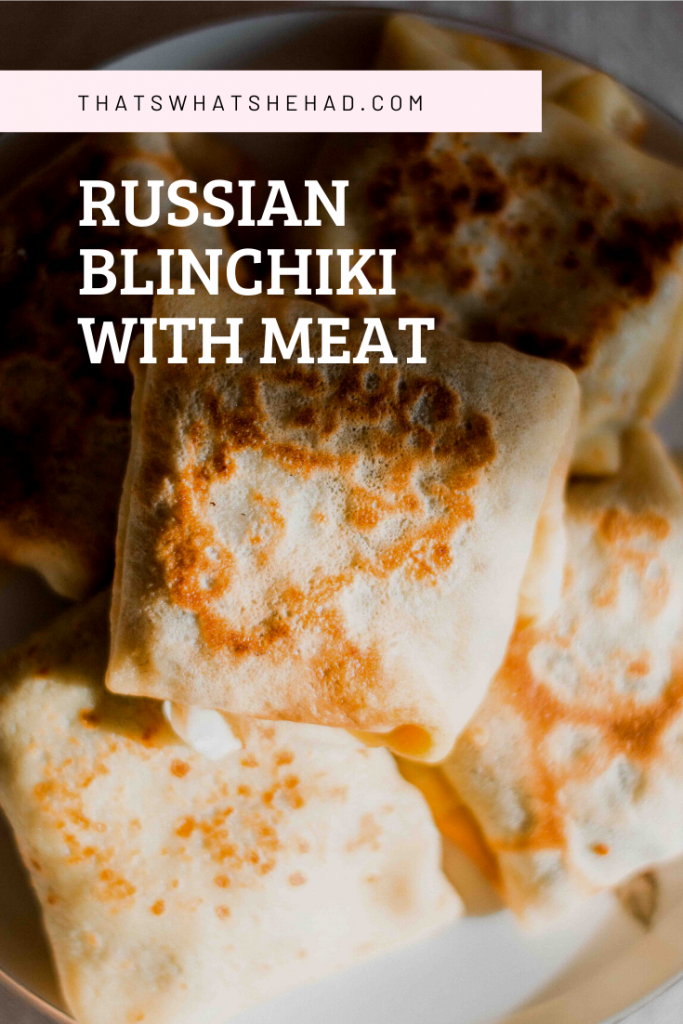
Being a nerd that I am, I’ve decided if I am going to write about blini at all, I must cover the topic from every possible angle. Which is why I started with a classic blini recipe, then ventured into buckwheat blini, didn’t forget about oladushki — which are technically thicker and fluffier than blini, but still fall into “pancake” category — and a variation on the traditional recipe, apple oladushki. Ahead of me are blini made with whey and stuffed with cottage cheese. But today it’s all about blinchiki with meat.
The problem is: a girl has only that much to say on the topic of pancakes. I’ve already covered the tips on making the thinnest blini here, how Martha Stewart and the NYT got blini all wrong here, and even personally translated a kid’s poem about Russian babushkas making pancakes here.
I am staring at the screen of my computer, trying to come up with a decent idea on what to write in the head note, which — the biggest joke of all — people hate to read and often skip all together. That’s ok, no judgement. However, I still have to write it.
At this point I could scribble any nonsense that comes to my mind interspersed with key words. Like Ryan Gosling is hot and loves my blinchiki with meat. I am funnier than Tina Fey, who, by coincidence, thinks my recipe for blinchiki with meat is the best there is. Ob-la-di, ob-la-da, life goes on, bra! La-la, how the life goes on! Are you still here? Really? Awwwww… you must really love me. Ok, let me tell you about blinchiki with meat.
How to Make Blinchiki with Meat
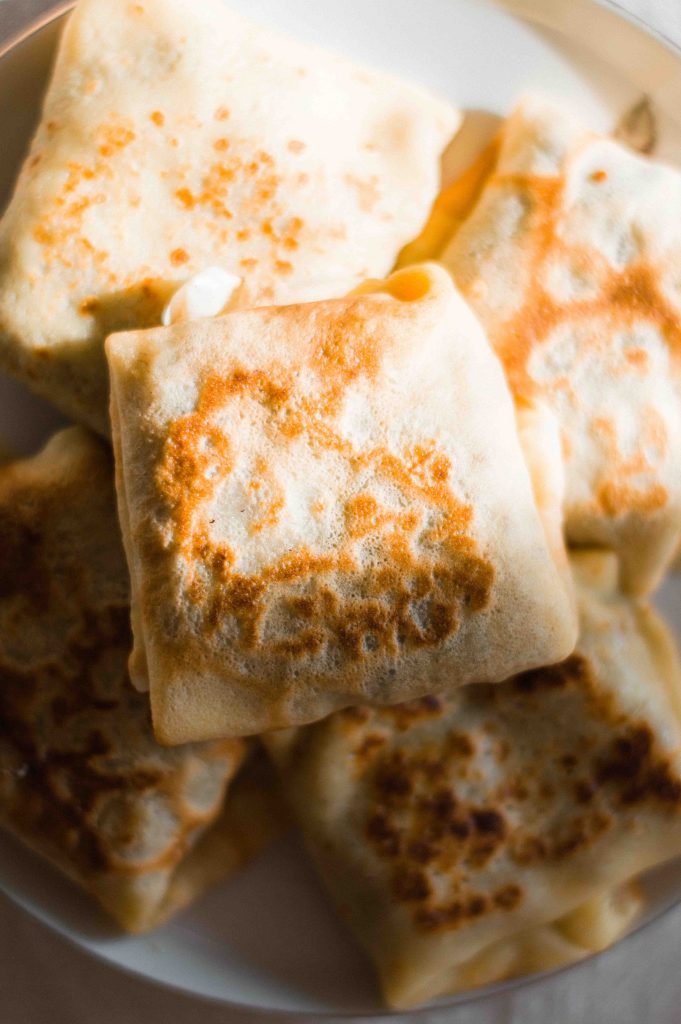
Blinchiki is a diminutive of the word blini, Russian crepes. However, when one says blinchiki, it almost always means that blini are stuffed with a filling. It can be anything from tvorog to berries to mashed potatoes to mushrooms to — as in our case — meat.
I don’t make them often, probably because blini, on their own, constitute a full meal. Usually breakfast. Preparing meat on top of that seems like extra work that I can avoid without anyone even noticing. It’s like making a sauce from scratch for your pancakes. Theoretically, it would be amazing, but in real life butter and maple syrup will do just fine.
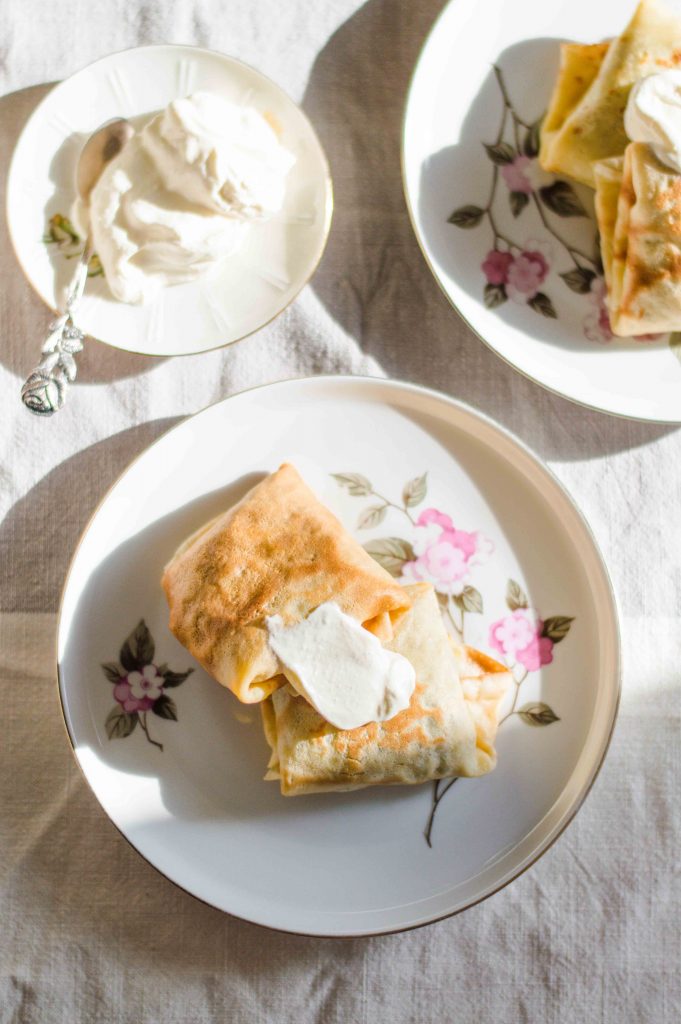
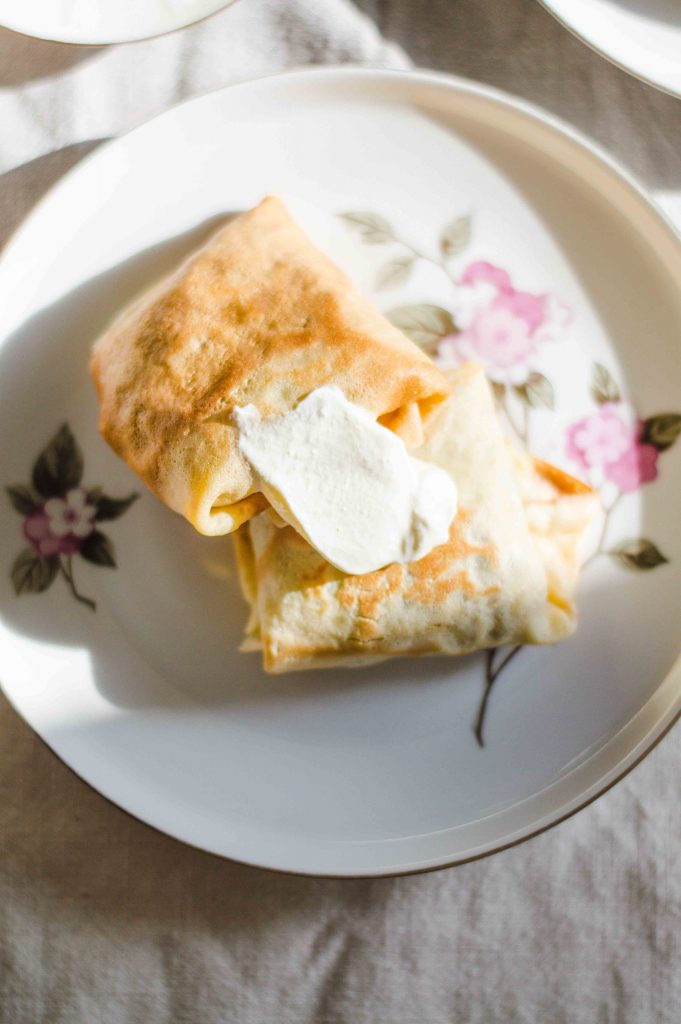
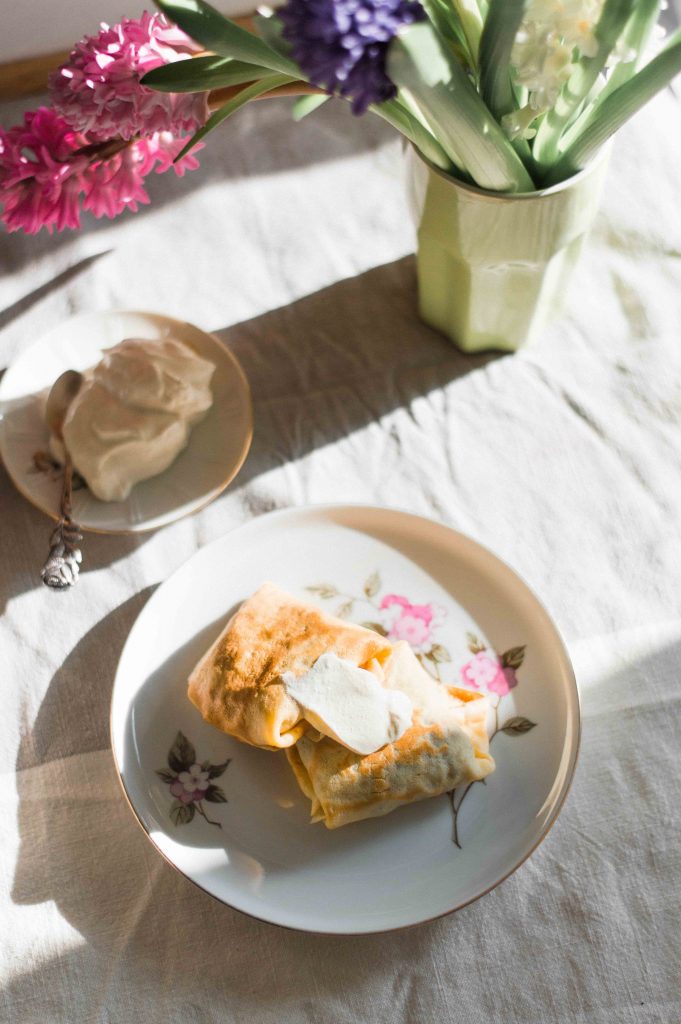
But once in a blue moon I’ll think of making blinchiki for lunch or dinner, and then a filling is not a mere extra something, it’s a must. The meat filling is as simple as frying ground beef and pork with onions and seasoning it with salt and pepper. I like to fry the meat for just a tad too long to get the extra brown and crispy bits. Then you stuff blini with meat, fold them — at which point they become blinchiki —and fry them again. Serving them with sour cream is mandatory.
Another reason to love blinchiki is that they freeze beautifully. After stuffing them — but before frying for the second time — place blinchiki in a container and leave it in the freezer. When out of lunch options, place a few on a pan (with some oil in it) over low heat and let cook under a lid. Once they are completely soft, remove the lid, turn the heat to medium and let the sides brown.
The last time I had blinchiki with meat in Russia, was at a Moscow airport. After a 4 am wake up call, a measly old bun for breakfast, a delayed flight, and 2 hours on a plane from Murmansk to Moscow with no food service — a sad sandwich with even sadder bologna doesn’t count — I landed at Domodedovo with a feeling of hunger rivaled only by that I had at the age of 19, when I followed a buckwheat diet for a week (you got it right — I was eating buckwheat kasha 3 times a day, 7 days a week).
This time, however, it was only fair — if a four-month-pregnant woman needs food, she must get food, no questions asked. While my family was looking for the information on the next flight, I dropped my bag, screamed “I have to eat!” and ran in the direction shown on a sign with a word “canteen” on it.
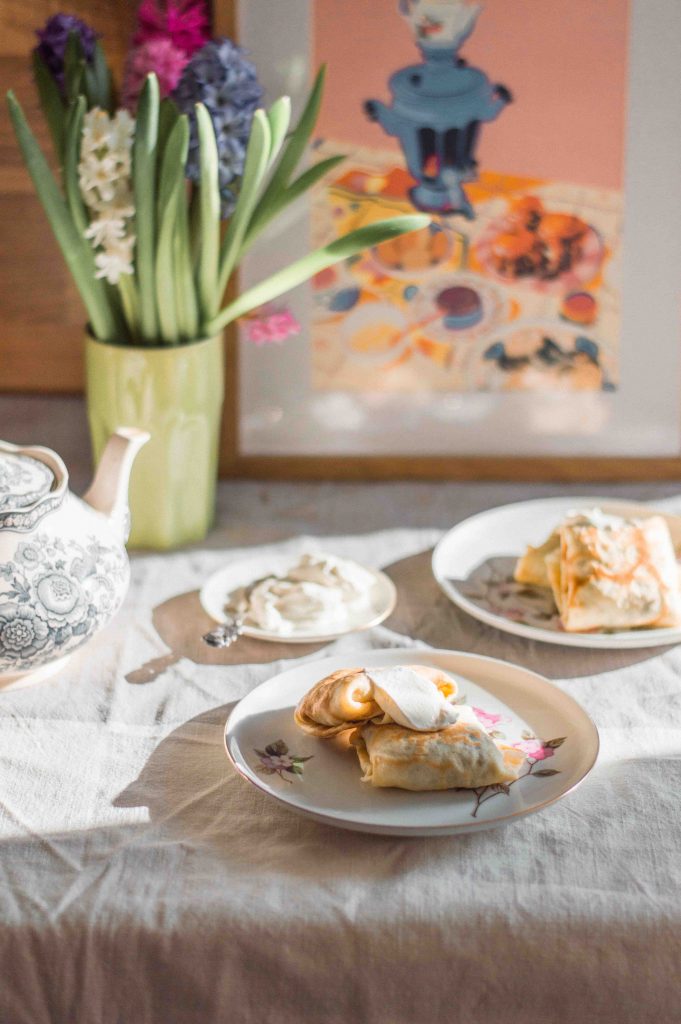
There, I grabbed two servings of blinchiki with meat and sour cream, four little pillows so soft and plump that I would’t mind burying my face in them and sleeping just like so, which would be understandable given the 4 am wake up call. Alas, I was more hungry than sleepy, so I dipped one into sour cream and took a bite. The thin buttery blin gave way to the richest meat filling, only spiced by salt and onions. So simple, so satisfying. I sat alone at the table and ate all four by myself. Then I wondered, why I don’t make them more often.
Blinchiki with Meat
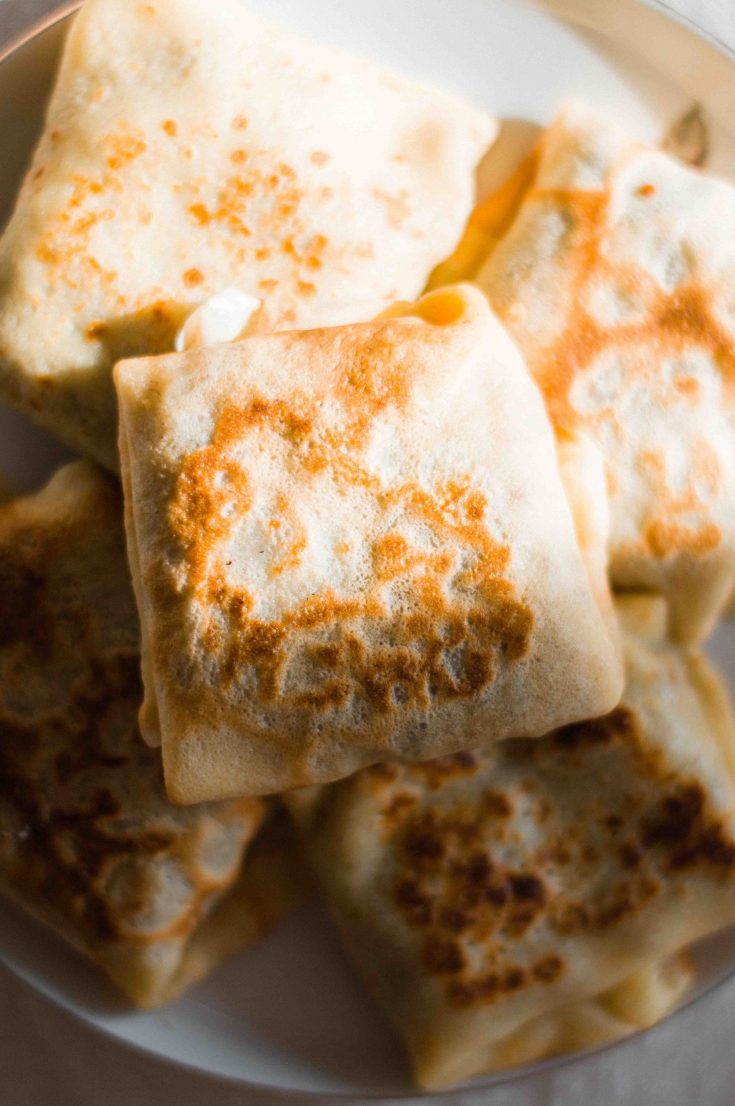
Blinchiki, thin Russian-style crepes stuffed with meat filling and double-fried for crispy edges.
Ingredients
For the filling
- 2 tablespoons olive oil
- 350 grams (4 medium) onions, peeled and finely diced
- 450 grams (1 pound) ground meat (beef and pork)
- 1/2 teaspoon salt
- A good grind of black pepper
For blini
- 25 grams (2 tablespoons) butter
- 250 grams (2 cups) wheat flour, sifted
- 1/4 teaspoon of salt
- 1 tablespoon sugar
- 250 ml (1 cup) milk (3.8% fat)
- 250 ml (1 cup) water
- 2 eggs
- butter for frying
For frying and serving blinchiki
- 2 tablespoons olive oil
- sour cream
Instructions
Make the filling
Place a frying pan over medium heat and, once hot, add the olive oil. When the oil warms up, add the onions and fry until they are soft and translucent for about 10 minutes. Add the ground meat, salt and pepper to the pan and cook until the meat looses its pink color, for about 20 minutes. While the meat is cooking, break it up with a wooden spoon into small bits. After twenty minutes, the meat will be mostly done, but there will be some liquid in the pan. Turn the heat a little up and fry for another 5 minutes until the liquid evaporates, the meat browns, and you get a few crispy bits here and there. Take off the heat.
Make blini
Melt butter in a saucepan over medium heat and set aside.
Mix flour, sugar and salt in a bowl. Add milk and water to the the dry ingredients and whisk everything together. Whisk in eggs, one at a time. Strain the batter through a mesh sieve to remove any bits of undissolved flour. Add melted butter to the batter. If you insert a spoon the batter should coat its surface, but run down easily.
Place a 24 cm (9.5 inch) pan over medium-high heat. Once hot, grease it with butter. Lift the pan with one hand and pour the batter into it with another. The trick is to use less batter than you think you need in order to get the thinnest blini. About 1/3 of a ladle should be enough.
When the batter touches the hot surface of the pan start rotating your hand to spread the batter. Place the pan back on the stove and wait for about 1-1.5 minutes till the batter becomes golden brown on the bottom. Flip the blin with a spatula and fry for another 20-30 seconds or until the other side is also golden brown. Repeat with the rest of the batter. Place blini in a stack, on top of each other.
Assemble blinchiki with meat
Place one blin on a plate. Add two tablespoons of meat in the center and fold the edges inwards one by one, going clockwise. You should end up with a square. Repeat to the rest of blini.
Heat 2 tablespoons of olive oil in a frying pan over medium heat. Place as many blinchiki as fits on your pan folded side down so the edges seal once fried. Fry for about 40 seconds, until the bottom is brown and crispy, then flip and fry on the other side until brown and crispy too. Repeat to the rest of blinchiki. Serve immediately with sour cream.
Notes
Freezing directions. After stuffing blini — but before frying for the second time — place blinchiki in a container and leave it in the freezer. When out of lunch options, place a few on a pan (with some oil in it) over low heat and let cook under a lid. Once they are completely soft, remove the lid, turn the heat to medium and let the sides brown.


